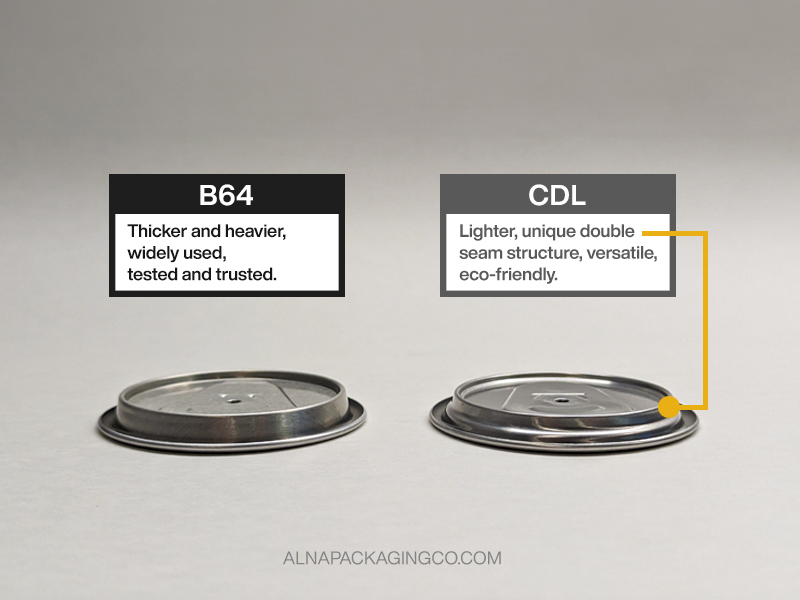
Behind every great beverage, there's a carefully chosen can end. It might not be the star of the show, but it sure plays a crucial role. In the lineup, B64 and CDL can ends are the two most common format, each with their own strengths.
We're here to walk you through what sets these two apart, and how they fit snugly into your next production run.
At a glance
*Measurements based on our manufacturer's data. Variations may exist across manufacturers.
In summary - The B64 is the traditional go-to, known for its universal fit, tested reliability, and durability, albeit being a heavier option. On the flip side, the CDL is a newer, lighter alternative that offers a subtly smoother opening experience. That said, there are multiple types of CDL - like CDL-E, CDL+, and CDL-W - which might need adjustments to your seamers or production lines. This is something to consider if you're switching suppliers, as it could mean extra testing and tweaking. And ultimately, the choice depends on balancing these factors with your specific packaging needs.
Essential steps before switching between B64 and CDL
So, you've weighed the pros and cons and decided it's time for a change. Switching from B64 to CDL can ends (or vice versa) isn’t just a matter of flipping a switch, it’s a strategic move that requires some prep work. Just like you wouldn’t use a Phillips screwdriver on a flathead screw, you can’t use mismatched tools in the seaming process. If the chuck and roller don’t fit the can end perfectly, you could end up with dents, bulges, or even leaks, none of which are good for your product.
Here's a general game plan, broken down into some digestible steps, to ensure that the transition is as smooth as your favourite brew.
Seamer Adjustment
• Chuck and Roll Profile: Match seamer components to the can end type. Incorrect matches can lead to poor seams or can damage.
• Seaming Operation: Calibrate seamer pressure and motion for the specific end type to ensure an airtight and damage-free seal.
Quality Control Checks
• Conduct thorough inspections for seam integrity and consistency. Ensure no leaks and recalibrate seam inspection equipment as needed.
Staff Training
• Educate operators on equipment adjustments or new machinery handling to maintain production quality and efficiency.
Trial Runs:
• Perform test batches to adjust the process and address potential issues before full-scale transition.
And there you have it – a roadmap to a seamless switch in can ends. Like a well-crafted brew, a successful transition is all about attention to detail and a bit of patience. Cheers to your next successful venture in canning🍻.


